
Update my email settings to Exchange in Apple Mail on Mac
If you migrated a POP or IMAP email account to Microsoft 365, export your previous locally saved data and set up your new account with Exchange settings. Using Exchange ensures your data — including mail, contacts and calendars — stays connected with your email and is recoverable from the server whenever needed.
Step 1: Add your account
- Open Mail.
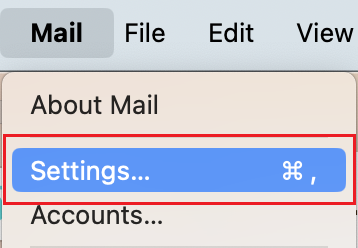
- From the menu bar, select Mail, and then Settings.
- Select Accounts.
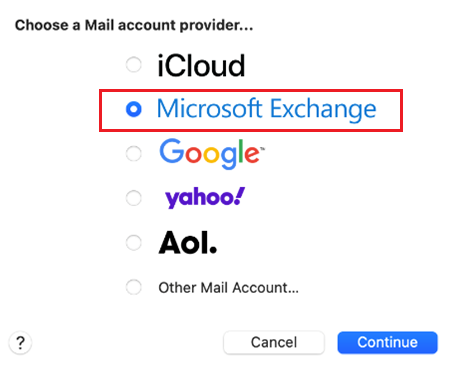
- Select + (plus), then Microsoft Exchange, and then Continue.
- Enter your name and email address, and then select Sign In.
- To allow Microsoft to locate you account information, select Sign In again.
- Enter your email password, and then select Sign In. You might need to select your account type as Work or school, not Personal, to continue.
- If your admin enabled multi-factor authentication (MFA), verify your account or set up the Authenticator app.
- To allow the app access to your account, select Accept.
- To confirm the apps you want to use with this account, select Done.
Your email account is now added.
Required: Before deleting or disabling your POP or IMAP account, please compare it with your new Exchange account to make sure all your emails, folders, calendars, contacts and other data are present. If anything's missing, copy the message to your Exchange account. From the POP/IMAP account, right-click the message, select Move, and then Copy to Folder.
Step 2: Disable or delete your POP or IMAP account
Once Exchange is added and you've confirmed all your data is present, disable or delete your POP or IMAP account.
Warning: If you want to delete your account, please make sure you have all your data in your new Exchange account before continuing. After you delete your account, your data isn't recoverable.
- From the menu bar, select Mail, and then Settings.
- Select Accounts.
- Select your POP or IMAP account, and then choose whether to disable or delete your account.
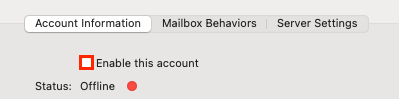
- Disable your account: Under Account Information, clear the checkbox next to Enable this account.
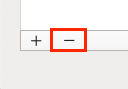
- Delete your account: To confirm you want to delete the account, select – (minus), and then OK. After your account's deleted, your mail, contacts and calendar aren't recoverable.
- Disable your account: Under Account Information, clear the checkbox next to Enable this account.
When you close the account window, you'll only see your Exchange account listed in Mail.
More info
- Set up Exchange on your other email clients.