How do I set up a TXT record on my domain name?
This article will show you how to create a TXT record for your 123 Reg domain name.
TXT records are a specific DNS record that store contact details and general data about the domain. They’re typically used for domain verification and to prevent any emails associated with the domain being flagged as spam. Domains can even have multiple TXT records assigned to them. Similarly, SPF records are a type of TXT record that can help prevent your email address from being used for a phishing scam by stating all the IP addresses that can send emails on behalf of your domain.
To add these records to your domain name, you’ll first need to ensure your domain is pointed to the 123 Reg nameservers. Otherwise, any configurations you’ve made to the DNS through our Control Panel will not take effect.
You will need to set your DNS at your nameserver provider. For more information on how to do this, please view the following article: How do I change the nameservers for my domain name?
Once you've done this, simply follow these instructions:
- Start by logging in to your 123 Reg Control Panel.
- Next, select Manage All opposite Domains within the ‘All Products and Services’ section.
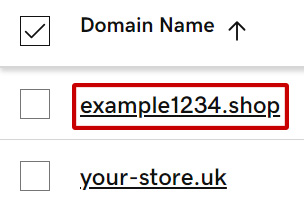
You will now see a complete list of your purchased domain names. Select the domain you want to update from the provided list.

Next, select DNS in the navbar.
You will now see a list of DNS records for your domain. From here, click Add New Record.
-
Create a new record with the following information:
- Type: select TXT from the drop-down list
- Name: enter the Hostname you have been provided with. If you are verifying your domain name with Google Apps, you will just need to enter an @ symbol
- Value: enter the TXT record that you have been provided with
- TTL: how long the record takes to resolve. This should be measured in seconds, for example, one hour equals 3600 seconds, so your TTL would be 3600. We recommend leaving this as Default.
Once done, click Save to complete the process.
