How to back up your email
This article will show you how to back up your 123 Reg mailbox across multiple email clients.
Simply click on a title below to skip to the most appropriate section. You can also click the Top button to return and make another selection.
Via Webmail
- Start by logging in to your Webmail.
- From your inbox, press and hold ‘Shift’ or ‘Ctrl’ on your keyboard and then click each message that you want to back up.
Alternatively, you can select the checkbox that appears alongside each message.

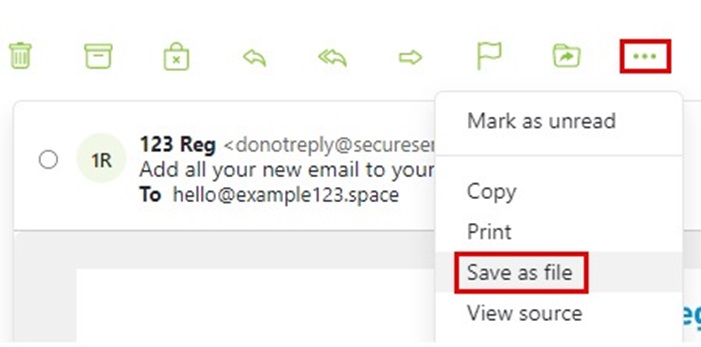
Click the 3 dots icon within the toolbar and then choose Save as file.
Via Outlook
- Start by opening Outlook.
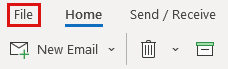
- From there, select File in the top toolbar.
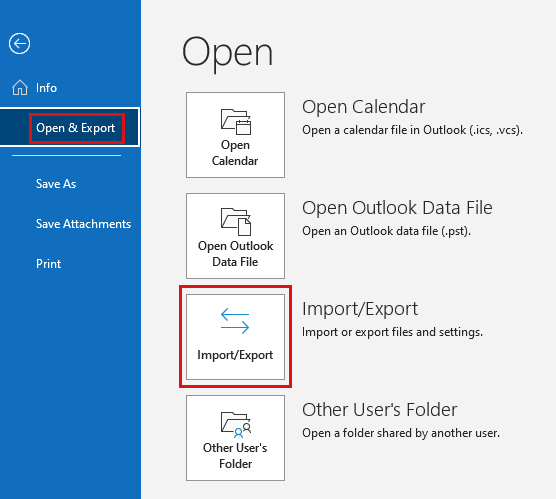
- Next, click Open & Export and then select Import/Export.
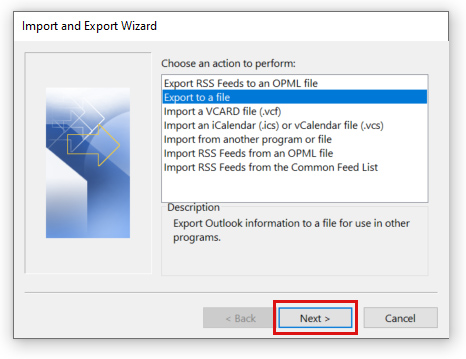
- A pop-up window will now appear for the Import and Export Wizard. Select the option Export to a file and then click Next.
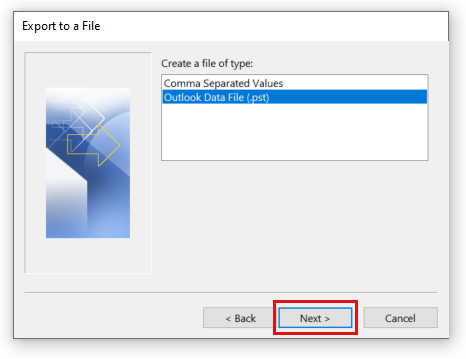
- On the next page, select the option Outlook Data File (.pst) and then click Next.
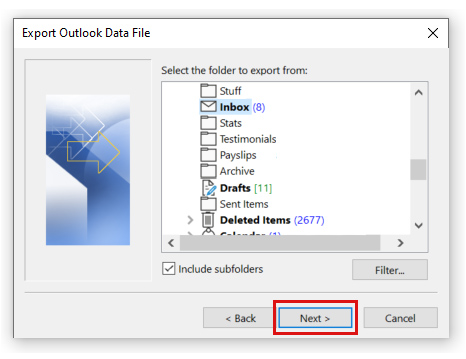
Select which folder you wish to back up from the list. If you want to back up your entire mailbox, then select the option that contains all your folders.
Once done, click Next.
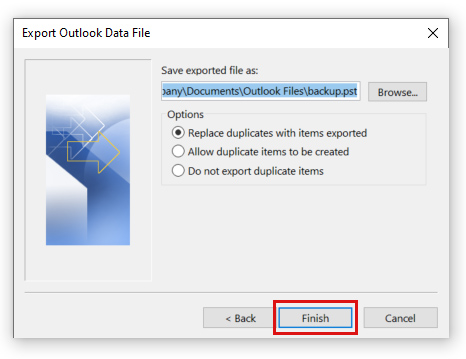
- Select where on your computer you want to back up your folder and then click Finish.
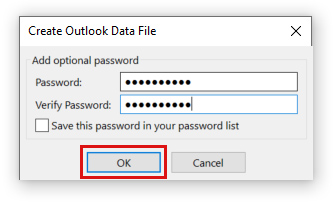
Next, you can set a password for your back up. Once done, click OK to continue.
If, however, you’d rather not, then click Cancel.
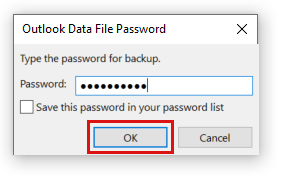
If you created a password in the previous step, enter it into the provided field and click OK to complete the process.
Otherwise, you can skip to step 10.
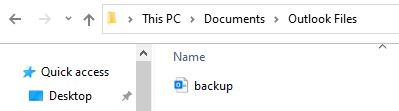
- A file containing your mailbox backup will now be saved to your chosen location.
Via Windows 10 Mail
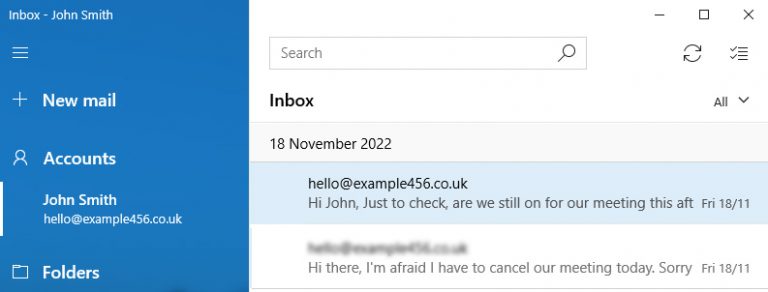
- Start by opening Windows 10 Mail.
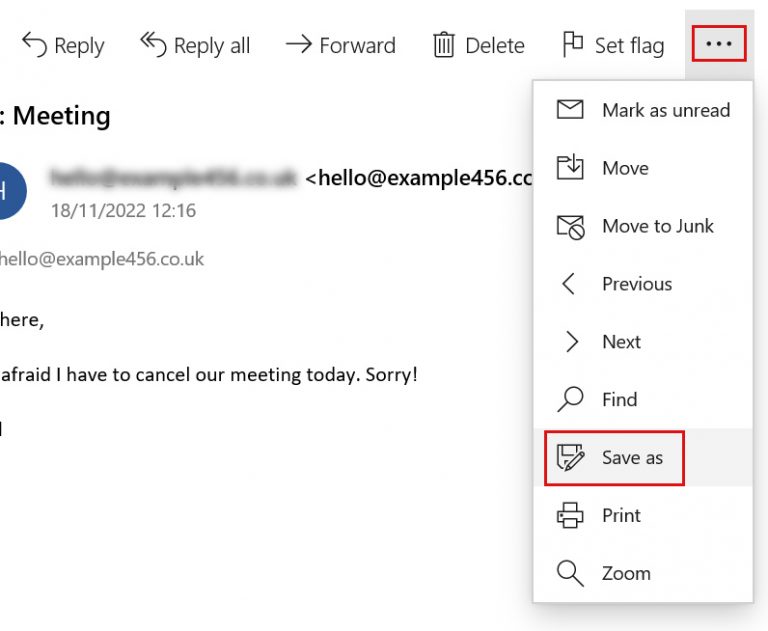
- From there, select the message you wish to back up in your inbox.
- Next, select the Menu icon (represented by the three dots) and choose Save as from the drop-down menu that appears.
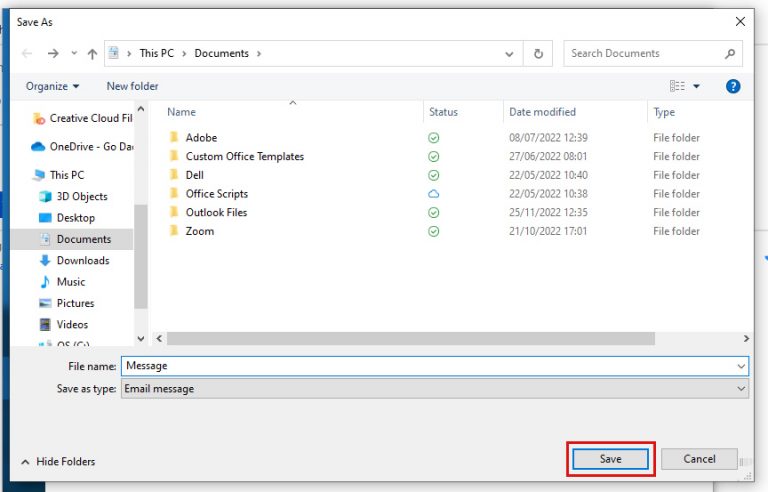
A pop-up window will now appear for your saved files.
Enter a name for your file into the provided field and then select where on your computer you want to save the file. Once done, click Save.
Via Apple Mail
- Start by opening Apple Mail.
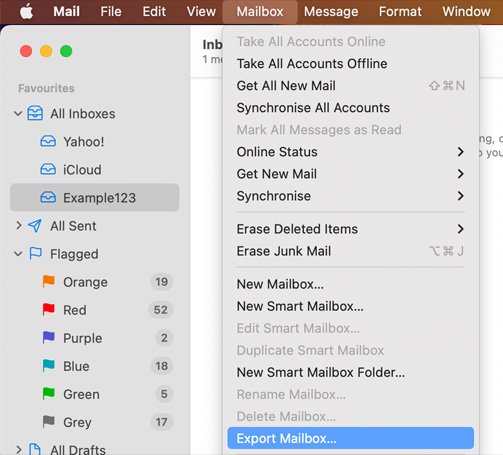
From there, select the mailbox you want to back up from the left-hand menu.
Once you've done this, click Mailbox in the toolbar and then choose Export Mailbox… from the list of options.
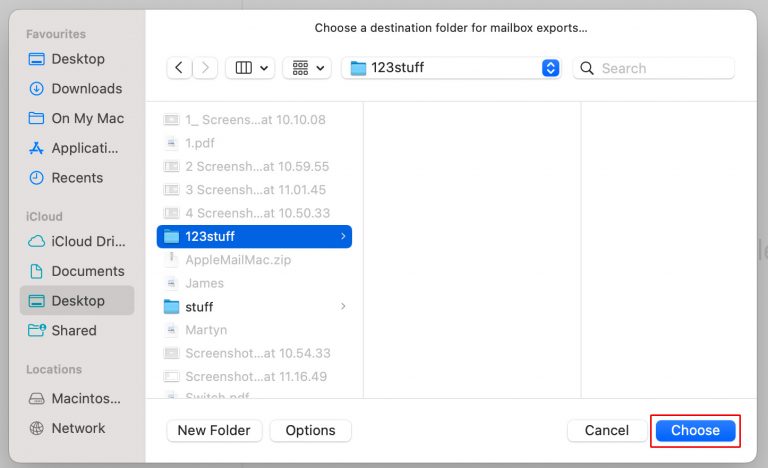
- A pop-up window will now appear. Select where on your computer you’d like to save your backup and then click OK.
Via Mozilla Thunderbird
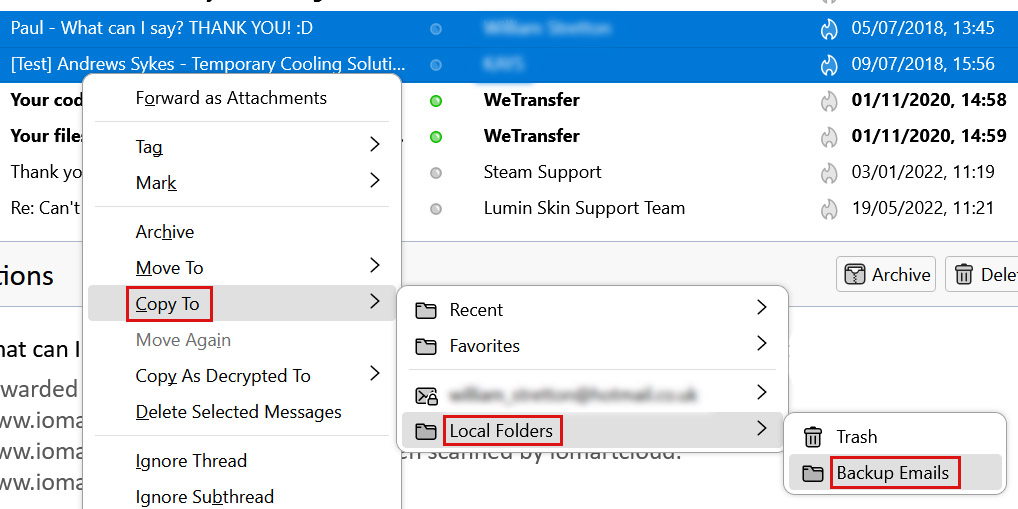
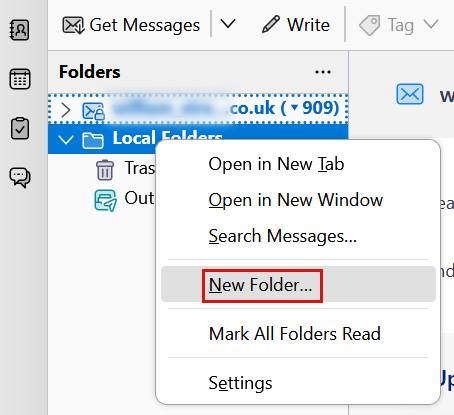
- Create a new folder locally by right-clicking Local Folders and selecting New Folder from the drop-down menu that appears.
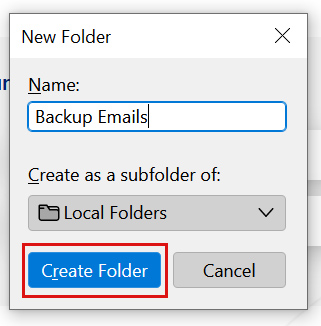
- Give your new folder a name and click Create Folder.
- Select the messages you wish to backup and then right-click your selection. From there, select Copy To, then Local Folders and then select the local mailbox you created.