How to create a subdomain on your hosting package
This article will show you how to set up a subdomain on your hosting package.
What is a subdomain?
Subdomains are the part of your web address that appear before your domain name within your URL. For example, with our web address 'https://www.123-reg.co.uk', the 'www' part is the subdomain.
However, subdomains can also be used to separate content from your main website into its own address or offer different versions of the same website. For example, you could use store.mydomain.com to direct users to your online store or en.mydomain.com and de.mydomain.com for English and German language versions of your website, respectively.
Is a subdomain a separate website?
Although subdomains are an extension of your main website, search engines recognise them as separate entities and will rank them accordingly. As such, it's worth bearing in mind what information, keywords, and phrases you feature on these pages.
How do I set up a subdomain?
- Start by accessing your Web Hosting dashboard.
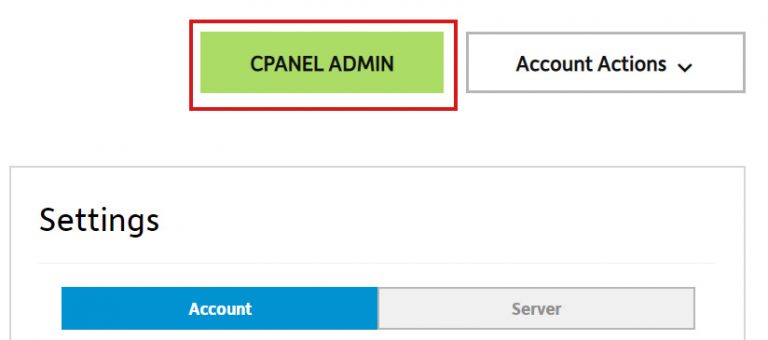
This can be done by logging in to your 123 Reg Control Panel and clicking Manage opposite your hosting plan within the 'All Products and Services' section. - On your dashboard, select the cPanel Admin button that appears above Settings.
- Select Subdomains under the Domains heading.

- On the next page, enter the Subdomain name that you want to use, such as store. or de.

- Ensure that you've selected the Domain.

- Ensure that the Document Root is left at the default setting, so that the subdomain files are stored in a different directory.

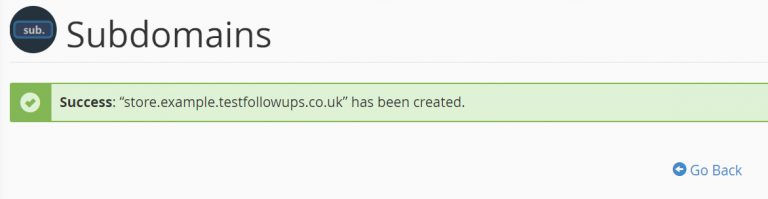
- Once done, select Create. You'll see a message confirming that your subdomain has been created. Click 'Go Back' to return to the main page, where you'll see your subdomain in the Modify a Subdomain list.