How to log into WordPress and publish your first post
If you’re completely new to WordPress, the world’s most popular content management system (CMS) this is the post for you.
We’ll look at how to log into WordPress, how to write your first post and how to upload files in this simple tutorial.
We’re assuming you already have a WordPress hosting plan ready to use, but if not you can get one from 123 Reg.
How to log in to WordPress
It’s easy to assume that a new user will instinctively know how to log in to a WordPress site, but it can be frustrating for a beginner.
You’ll need a few things to complete the WordPress login process. There are:
Your WordPress login URL (sometimes known as your WordPress sign in URL or your WordPress admin URL) and your WordPress sign in details (ie your WordPress username and password.)
How do I find my WordPress admin URL?
Not sure where your WordPress login page is? Try adding /wp-admin to your domain’s URL. (Ie example.com/wp-admin).
If this doesn’t work then you can try typing /wp-login.php (example.com/wp-login.php).
You will probably find that your web host also provides a link to your WordPress login page via the control panel you use to manage your products and services with them.
Once you’ve found your WordPress login page, bookmark it in your browser so you can find it easily.
What are my WordPress login details?
To successfully complete the WordPress sign in process, you’ll need your username and your password. (You can also use the email address you used to set up your WordPress site instead of a username.)
Remember, your WordPress login details may be different to the details you use to log into your hosting provider’s account.
If you’ve forgotten your WordPress password, you can reset it via your WordPress login page.
How do I log in as admin on WordPress?
Often, you’ll here people using terms like “WordPress admin login” or just “admin login” when talking about accessing WordPress.
Most of the time, they’re just talking about the usual process of logging in to WordPress.
But they might be talking about logging in as a user who has the role of “Admin” in WordPress.
If you’ve set up your own WordPress site and are the only user, you’ll have the role of Admin anyway so this isn’t something you need to worry about.
However, if you’ve been added as a user to someone else’s WordPress site, you might not have been given the role of Admin. That means you might not have access to all the features WordPress offers.
If you think you should be able to log in to someone’s WordPress site as an admin but can’t, contact the site owner to discuss the role you have. This guide explains more about WordPress roles.
Logging in to WordPress
Once you’ve found your login details and your login page, you can log in. This is what the WordPress login page looks like:
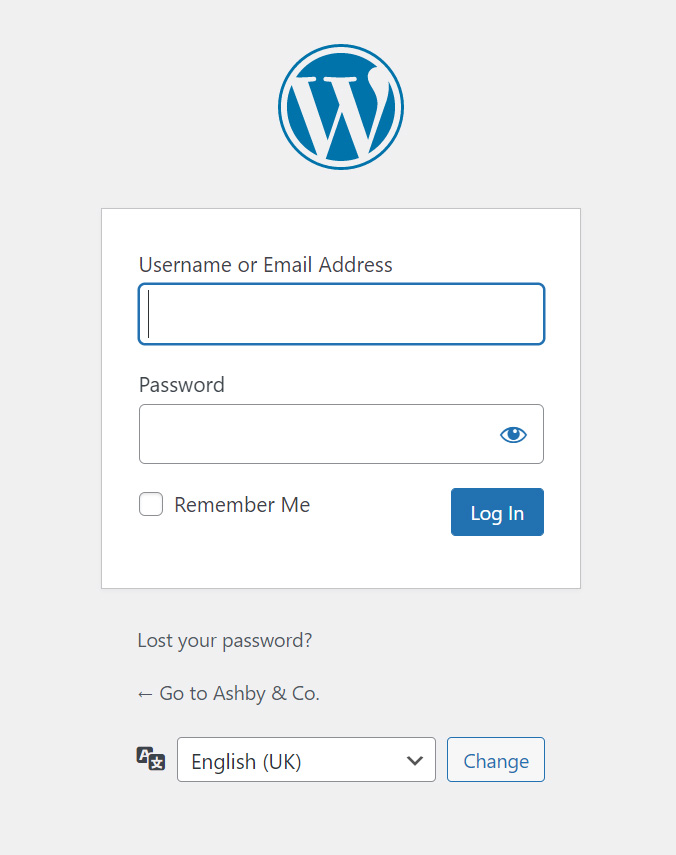
The WordPress login page
Once you’ve entered your details and hit “log in” you’ll be taken to the WordPress dashboard.
Understanding the WordPress dashboard
The WordPress dashboard is the starting point for any interaction with the WordPress CMS. From here you can do things like install plugins, change the design of your site and much, much more. It’s also where you’ll start the process of adding content to your new WordPress site.
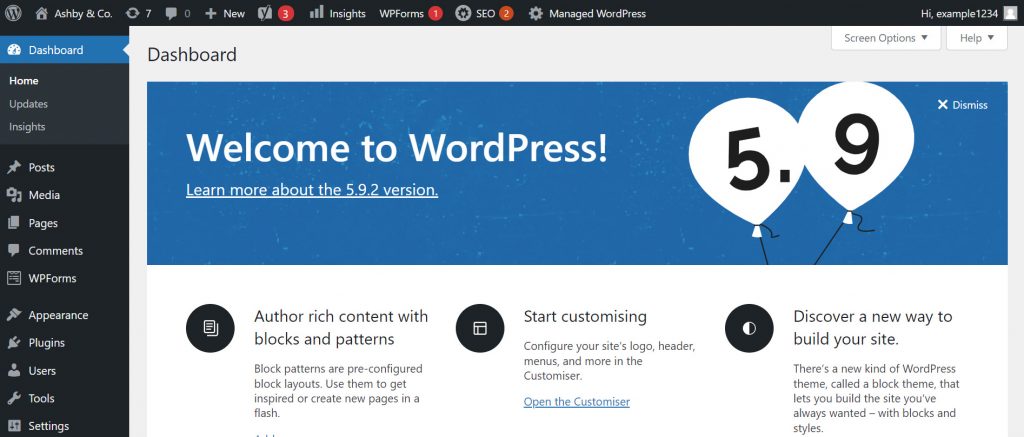
The WordPress dashboard
In this guide, we’ll focus on the Posts and Media tabs in the dashboard.
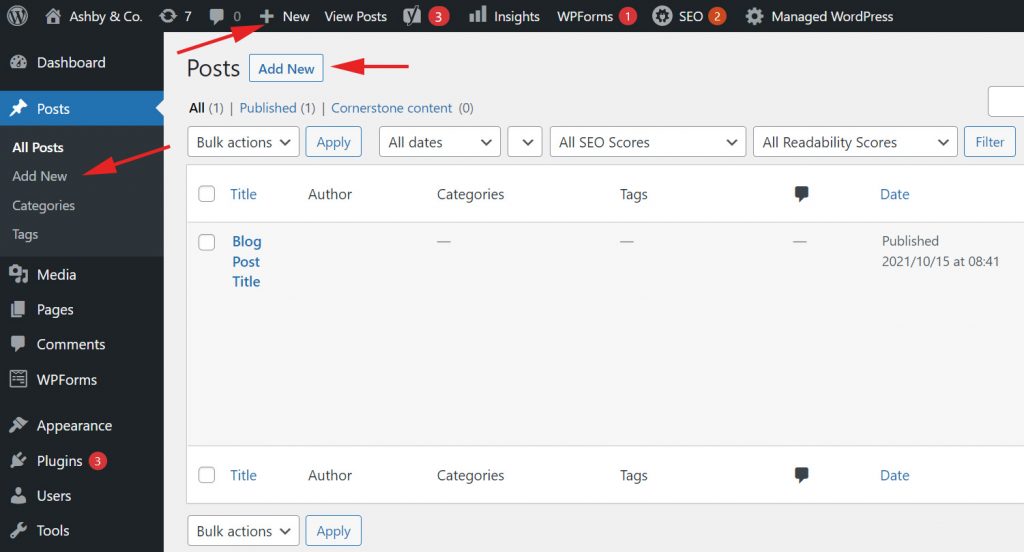
Creating a WordPress post
One of the first things you’ll want to do is publish a post, right? Something like, “Hey, welcome to my blog!” or “Look, I can use WordPress!”. No problem, just click on one of the three “Add new post” options highlighted in the image below.
Once you’ve done that, you’ll be taken to the WordPress editor, which works in a similar manner to a standard word processor. Newer versions of WordPress use the Gutenberg editor, which makes it easier to add visual elements to your post. Learn more about using the Gutenberg editor in this guide. For now, you can just start typing in the section we’ve highlighted with “write post”.
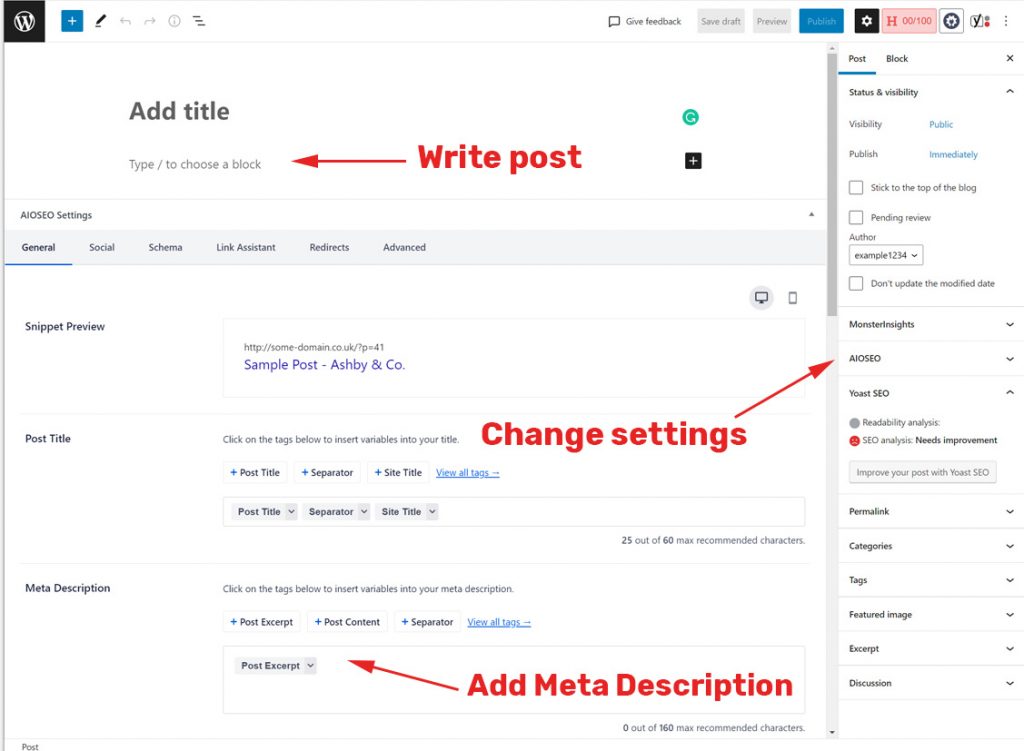
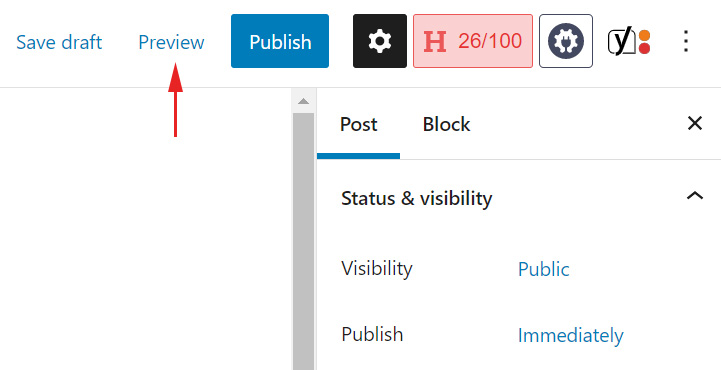
If you want to see what your post will look like before you publish it, click “preview” while in the editor.
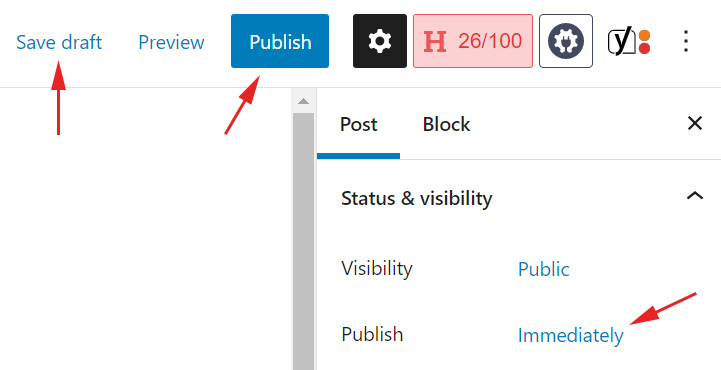
To save a draft of your post, click on “Save draft” and you can come back to it later (you’ll see it on the main posts page) or if you’re ready to publish then go for it. You can schedule a post to go live in the future by clicking the text that says “immediately” (backdating is possible, too).
How to upload media files to WordPress
There are a couple of ways to upload media files to WordPress.
Option one:
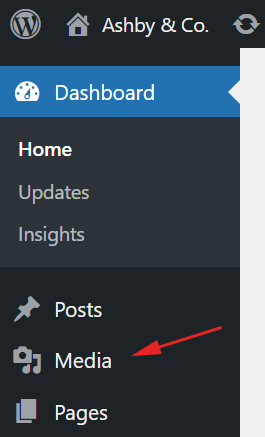
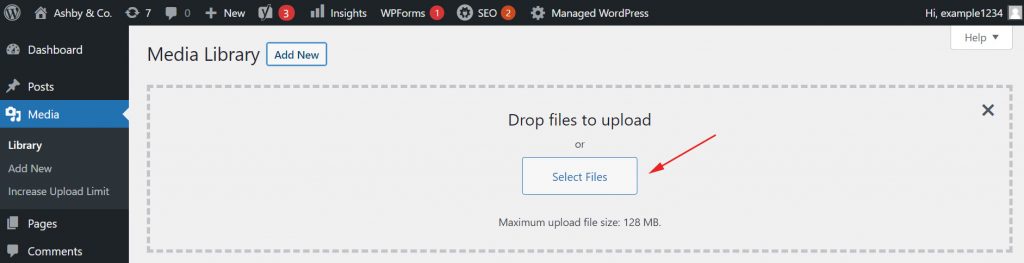
- Click on “Media” in the sidebar, which will take you to the main media page, where you can upload your files.
- Click “Add New”.
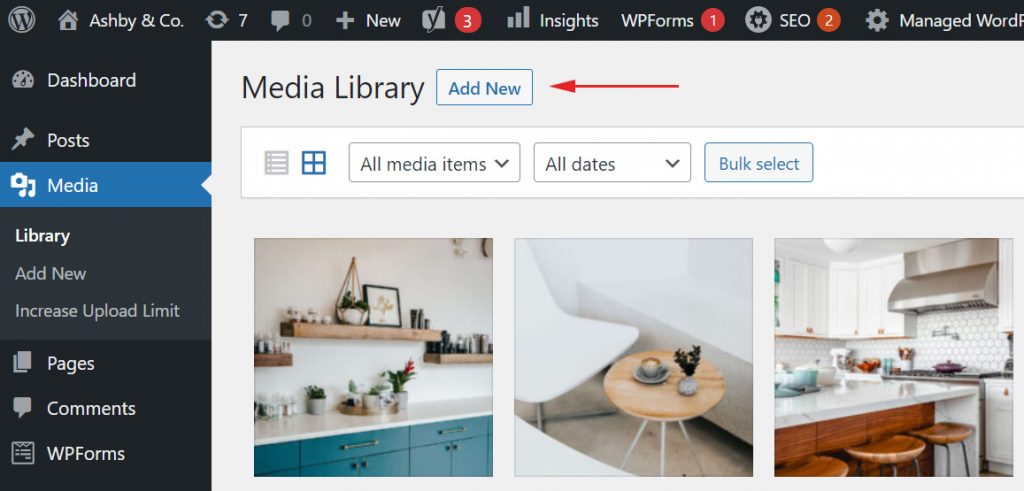
- Click the “Select Files” button then navigate to the files on your computer that you want to upload.
Option two:
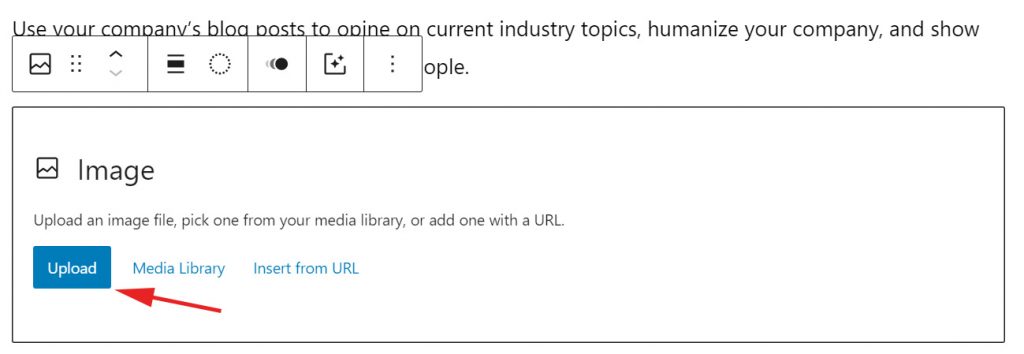
You can also upload media files directly to a post or page, making it even easier to add images to your WordPress content. To do that:
- Create a new post or open an existing one.
- Click the plus sign icon and select “image”

3.Click upload and then upload the image you want to include in your post. (You can also add an image that you’ve already uploaded by clicking “media gallery”.)
And that’s it! You should now be able to create and publish a WordPress post that includes images.
Need more help with WordPress? Check out our WordPress support articles here.